So, you want to learn how to make it as a food blogger. That’s awesome! The food blogging industry has grown, shifted and changed over the years but it’s still as popular as ever.
In this post we’ll cover how to construct a food blog in a way that will whet your readers appetites. Then again, I may even make you wonder if what you are seeing is real or cake!
So grab a cup and get ready to spill the tea on your super secret recipe.
We’ve got quite a bit to cover, like when to dish the family drama out onto the page, and how to pass your blue ribbon pie recipe off in each mouth watering bite.
Are you ready to cook up success? Good, so am I.
As they say on Iron Chef, “Allez cuisine!”
4 Steps to Writing a Winning Recipe as a Food Blogger
‘Tis the season to be hungry for words.
With American Thanksgiving right around the corner, we’re gifted with the wonderful excuse to write epics, sagas and blogs dressed with all the trimmings of holiday fragrances, spiced with grandma’s old sayings and served with unforgettable family recipes.
Step 1: The Introduction
Every great food blog article starts with an introduction.
This is a tale of how you came across your recipe, how you and yours reacted to it upon your first bite and why others should bother to replicate it in their spare time.
Don’t go on about how your mother and you panicked over the sweet potato casserole one year because we inadvertently created the wrong dish….
Wait!
Let me explain!
You see, I topped it with the white fluffy sweetness we all know as marshmallows, and she put the casserole in the toaster oven in an effort to roast them.
But alas, the top heating element sat too close to the sweet gooey delight, and before you know it we had Campfire Marshmallow Casserole!
But I digress.
This brings us to the first lesson in writing food blogs as a food blogger: brevity in the introduction is your friend.
Nobody wants to read a seven-page autobiography on how you first discovered turkey when you were two and 30 different ways you have made turkey since then.
Leave the Saga of the Muffin for the Muffin Man.
Keep the introduction the way my mom and I should have kept the marshmallows on that sweet potato casserole: a thin layer of personal delight to invigorate the reader’s taste buds, not a burnt mess that will overpower the rest of the dish or in this case post.
Now, let’s get cooking!
Step 2: The Ingredients
To write your own food blog, you’ll need the following:
- A recipe that you have tried and found true
- A writer (preferably yourself)
- A computer
- A blogging platform (I used WordPress for this article, although any will do)
- An Internet connection
- Proof through the camera lens that you know what’s in the pudding…er, recipe
Please note that I am not being compensated to mention WordPress. I mention this this for two reasons.
First, explaining to your audience which companies you’re affiliated with and being transparent with your audience is important in building your reputation as a food blogger.
Second, you will see photos from WordPress in this article as part of the demonstration factor that comes with all great recipes to success.
Step 3: The How-To
Becoming a successful food blogger has a lot to do with how you write the how-to part of the food blog post.
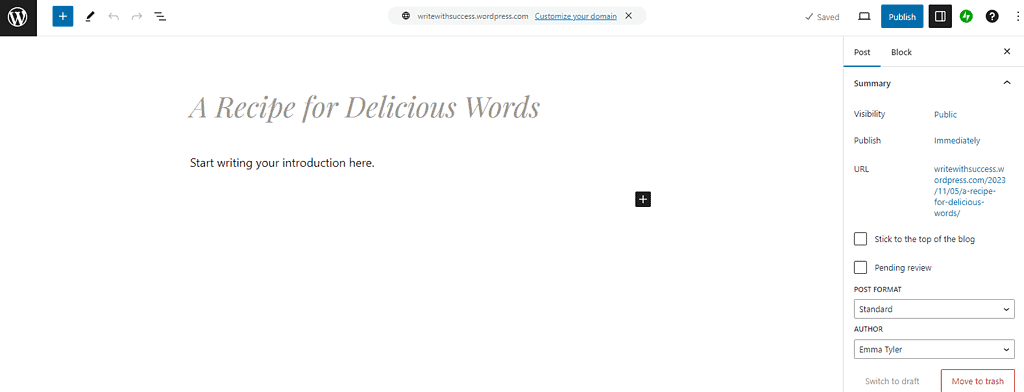
Start by clicking, “Write” in the upper right-hand corner to open a draft for your post. Give it a title that piques the reader’s curiosity, but provides clarity as to what item you are going to instruct your readership on.
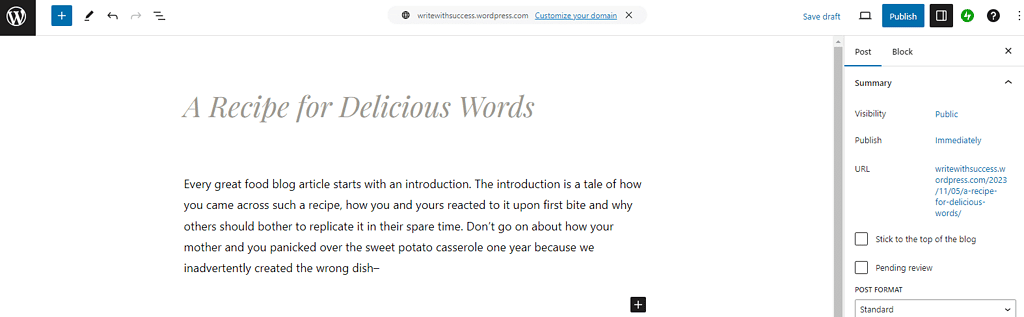
Then begin your introduction, which should explain what brought you to the point of sharing this recipe. It should be personal and share a story that engages the reader.
However, as stated earlier, you don’t want to write a long-winded post that makes your reader grow long in the tooth, or worse makes them leave your article altogether.
The cyber-speak TLDR (To Long, Didn’t Read) comes to mind.
Next, you want to discuss the tools and ingredients your reader will need to gather before pursuing the task of trying to whip up whatever you have to offer.
Please remember to list whether or not you are affiliated to any links provided throughout the article.
These links can be related to special tools your readers need to purchase in order to complete the task as well as ways of obtaining items that may be uncommon in their area.
In addition to what is needed, you will also want to include information in regards to substitutions should they not wish to purchase certain items, and you will also want to address allergies prior to beginning the recipe.
For example, if you do not have a Windows computer to create this article you can substitute it with a Mac, but I ask that you please avoid long hand as it is not compatible with blogging platforms or the Internet.
In addition, if you are allergic to reading, writing or insist on the Oxford comma, then this article may not be for you.
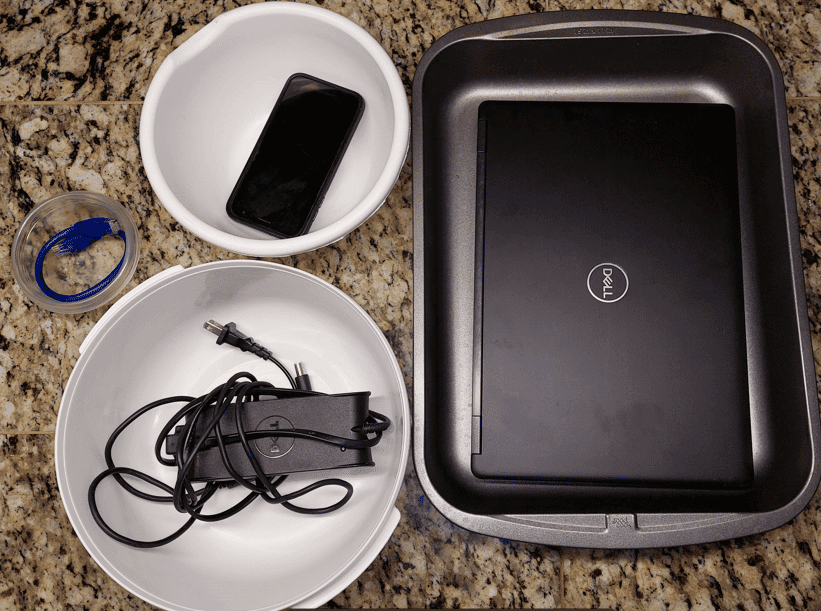
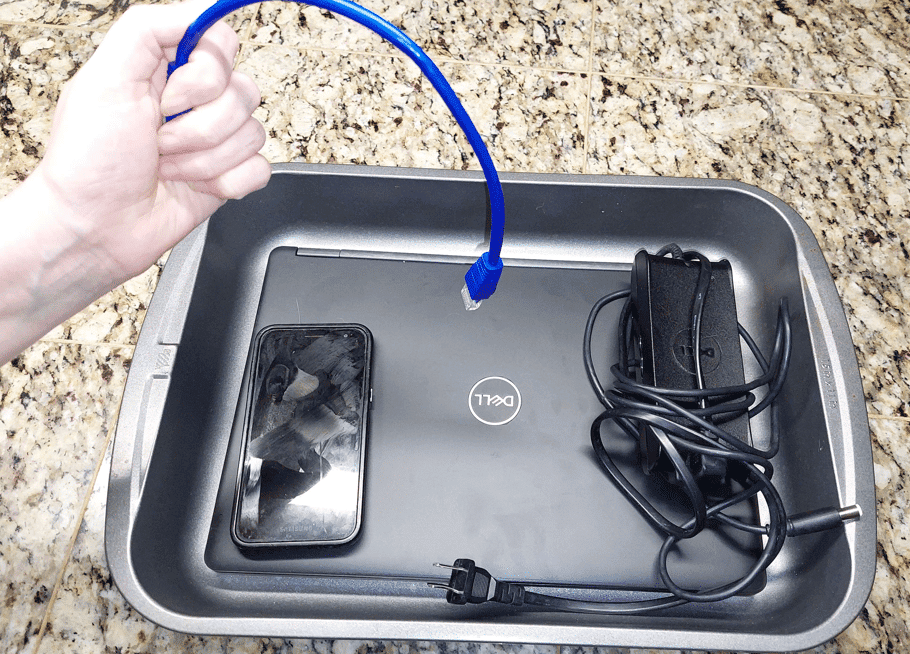
Then, you are going to replicate what I’m doing here, by providing step-by-step instructions as to what your reader needs to do to complete the task. The types of photos you will need consists of but is not limited to:
Tools gathered, but in separate containers.
The product during the combining process.
The product after the ingredients have been combined.

The product being introduced to the cooking element.
The product after being sampled.

Following the how-to segment, you’ll want to include the Items section and how-to section in an easily accessible printable format.
If you’re using WordPress, you can easily provide this to your readers by using a shortcode block, in particular the recipe format.
The recipe format should contain the following information:
- The recipe title
- The number of servings
- Time it takes to prep
- Time it takes to cook
- Difficulty level of the recipe
- An image of the recipe
- A short description of the recipe
- The steps to cooking the recipe
- A link to print the recipe
Step 4: The Recipe (Do it Right and You’ll be a Celebrated Food Blogger!)
[recipe title=”The Food Blog Recipe” servings=”All The Readers” preptime=”Varies” cooktime=”This is not cake, do not bake or cook.” difficulty=”Beginner” rating=”5 Stars” description=”Learn to write a food blog with this easy peasy lemon squeezy of a recipe.”][recipe-notes] If you do not have a Windows computer to create this article you can substitute it with a Mac, but I ask that you please avoid long hand as it is not compatible with blogging platforms or the Internet. In addition, if you are allergic to reading, writing or insist on the Oxford comma then this article may not be for you. [/recipe-notes][recipe-ingredients] – 1 Recipe you would like to share – 1 Writer (Preferably yourself) – 1 Computer (Mac or Windows) – 1 Blogging Platform – ¼ Page of Recipe’s Food Saga – ¼ Page of Ingredients – ¼ Page of How-To instructions with photos. – ¼ Page for the actual recipe which can be printed separately from the article [/recipe-ingredients][recipe-directions] 1. Begin your article by providing your audience with a story that is not too elaborate about why this recipe matters to you and yours 2. Then provide step by step instructions accompanied by images which depict how to go about creating such a delicious masterpiece 3. Once the item has been typed out, decorated with active verbs, edited, and formatted to taste, publish your article for your subscribers to enjoy [/recipe-directions][recipe-nutrition] Per Serving: 0 calories; 0 g fat; 0 g carbohydrates; 0 g protein; 0 mg cholesterol; 0 mg sodium. [/recipe-nutrition][/recipe]
If you’re just getting started in the food-writing industry as a freelance writer, then we encourage you to check out The Freelance Writer’s Den. This supportive membership community contains hundreds of hours of training, freelance mentors, and much more!