 I remember the first time I heard of Pinterest. It was four years ago. I was having coffee with a friend. She couldn’t stop talking about the platform, and how to get more blog traffic with Pinterest.
Her enthusiasm for Pinterest was infectious. When I got home that day, I created an account and started pinning away.
Want to know how to use Pinterest to grow your blog traffic? Let’s look at this platform’s potential to help bloggers.
The power of Pinterest
Today, Pinterest is one of my top sources for website traffic, second only to Google. In fact, over the past year, I’ve been able to increase my page views 161 percent, which lead to a 151 percent increase in my blogging income.
And no, I’m not a food, fashion, or crafting blogger. It doesn’t matter what your niche is. With the right approach, Pinterest can be a game-changer for building an audience and growing your business. If you’re not using Pinterest, you’re missing out.
Want more proof that Pinterest works?
Last year, Daniela Uslan, a freelance writer and blogging coach, tripled her blog traffic with Pinterest in less than a month — with fewer than 100 followers.
And she’s not the only blogger to see major success with Pinterest.
Addi Ganley, a personal finance blogger, doubled her blog traffic and hit the 600,000 mark for monthly page views within a year. While Addi had a multi-step approach for increasing her blog traffic, Pinterest accounted for 200,000 of those monthly page views.
Ready to learn how to use Pinterest for your blogging or freelance writing business?
Here are the four strategies I’ve used to exponentially grow my traffic:
1. Create an account
When you create a Pinterest account, you have two options. You can either set up a personal account or a business account. You’ll want to choose the latter of the two.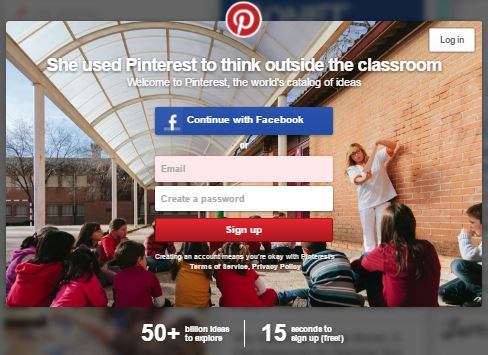
When you set up a business account, you’ll get access to special features that are not included with personal accounts, such as, rich pins (which add additional snippets of information to each of your pins), analytics, and paid advertising options.
Have you already set up a personal Pinterest account?
No problem. Pinterest allows you to switch from a personal account to a business account (it’s easy – I had to do this myself). Go to this page and click on the “convert account” and it will walk you through the steps.
Complete your profile
Remember to fill out your profile completely. Use a professional-looking headshot, add a keyword-friendly description, and links to your website and social media profiles.
Verify your website with Pinterest
You’ll also want to verify your website which can be done by adding a snippet of code to your blog or through the Pinterest Verify plugin. And if you don’t have a website, you can still create a Pinterest account and start using it.
Add social share buttons
Most importantly, you’ll want to ensure the images on your blog are pin-ready by adding social share buttons to all of your blog posts. This can be accomplished through a variety of plugins and widgets. Shareaholic is a free social sharing plugin, and Social Warfare is a paid social sharing plugin.
2. Set up boards
Now that your profile is in place, it’s time to start creating your virtual bulletin boards. This is where you’ll add your content.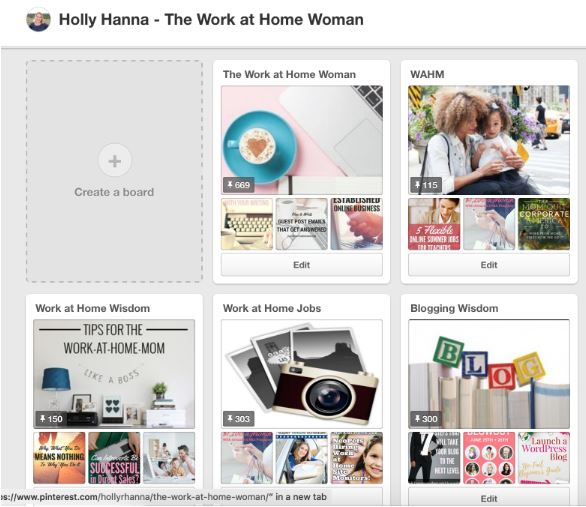
Create boards using keywords
Because Pinterest acts as a search engine (users can search by pin, board, user, or related content), you’ll want to create boards with catchy titles and keyword-rich descriptions. Take time to research keywords in your niche and diversify your boards accordingly.
While you want to target a wide variety of keywords and topics in your niche – you don’t want to dilute your efforts by having too many boards. In fact, according to a study by BoardBooster, the majority of successful pinners have less than one hundred boards, and top pinners with 3 million followers have an average of 62 boards.
You don’t have to create all of your boards in one day. Start with five to 10 boards that contain catchy titles, rich descriptions, and high-quality pins. And from there, you can build up. I currently have 73 boards, but 44 of those are group boards.
Once you’ve created your boards and added your descriptions, you can arrange them in any order you wish. I suggest moving your most important boards to the top row, as these will receive the most visibility.
3. Choose pin-worthy images
To create eye-catching pins – here’s what you need to know.
Find the perfect image
If you have a niche where you are taking your own photos, you’ll want to educate yourself on proper lighting, staging, and composition. Luckily, there are tons of free photography guides online where you can sharpen your skills. If your blog is unrelated to foods, fashion, or crafts, you can use inexpensive or free stock photos.
Make your images stand out
According to a study done by Curlate, the following features will help your image stand out from the crowd and generate more repins.
- Choose images with warm colors
- Avoid dark images
- Make your images vertical with a 2:3 or 4:5 ratio
- Avoid using images with faces
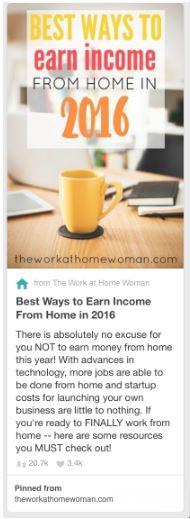
Add text to your images
Why add text to your image? Research shows that pins with text overlays perform better than images without text.
To add text (usually the title of your blog post) to your images, try a photo editing program like PicMonkey or Canva. Both platforms are free for basic use, and they’re simple to use. If you have an indecisive personality, try Canva. It has ready-made templates and font combinations that can take some of the guesswork out the design process.
To help create the right color combination for your image, check out ColourLovers.com. This site has tons of color palate combinations with HEX codes (the numeric expression of each color) to help you create a professional and polished-looking image.
Write engaging descriptions
Even though Pinterest is a visual platform, written descriptions for your pins are equally important. Like your blog content, your pin descriptions should be conversational, keyword-rich, with clear and concise explanations of the content.
You should also include a Call to Action in each description. According to a study done by reachli.com, Pinterest descriptions that contain a CTA see an 80 percent increase in engagement.
4. Plan your pinning strategy
Now for the fun part…pinning content.
While you want to pin your own content to your boards, you’ll want to do it in a strategic manner over an extended period of time.
Create a pinning schedule
You can manage your content and pinning schedule via a spreadsheet, or you can use a third-party scheduling tool like BoardBooster, ViralTag, or Tailwind.
Because Pinterest is an algorithmic platform like Facebook, you’ll want to diversify how you pin. Try combinations of manual and automatic pinning at different times during the day.
According to this infographic from Buffer, the best times to pin are afternoons, nighttime, and Saturdays. Experiment and figure out what times your target audience is online and using Pinterest.
You’ll also want to diversify your content by pinning other people’s content to your boards.
For my audience, I’ve found that pinning from 7 p.m. to 9 p.m. yields the best results. I use a third-party platform called Board Booster to schedule nighttime pins. And during the day, I pin manually.
How many pins should you pin each day?
According to Ahalogy, if you want to aggressively grow your Pinterest following you should aim for 20-25 pins per day. On average, I do 40 pins per day (manual and scheduled) and spend about 20 minutes pinning and 20 minutes on image creation. I also have a virtual assistant who creates pinnable images for me. And I spend about 60 minutes a day Pinterest marketing.
Use group boards
One feature Pinterest has that other social platforms don’t is group boards. These shared boards have the potential to extend your reach exponentially by showcasing your pin to other pinner’s followers. However, you’ll want to be cautious when creating and joining group boards, because other people’s pins will also go out to your followers.
When joining group boards, look for well-defined groups that pertain to your niche and that have quality assurance rules in place for its members. You’ll also want to monitor the board’s activity to see that it has the right balance of engagement.
If the board is a ghost town or there too many spammy pins being promoted, you can choose to leave the group. Apply the old adage “quality over quantity” to group boards, and you should see good results.
Use Pinterest to grow your blog
If you’re ready to increase your blog traffic – try implementing these Pinterest strategies. It may be your ticket to exponential blog growth.
Have you had success using Pinterest to grow your blog? Leave a comment below.
Holly Reisem Hanna is the publisher of the award-winning blog, The Work at Home Woman. Stop by to find out more about paid writing assignments.