Favorites
Customize ESPN
ESPN Sites
ESPN Apps
TOP HEADLINES
WEDNESDAY'S BOWL GAMES

EYE ON THE POSTSEASON
16 teams in the NFL playoff mix, 16 potential downfalls: Let's find each roster's fatal flaw
We found fatal flaws for all 12 clinched teams in the playoff field, plus the AFC North and NFC South teams trying to join them entering Week 18.

NFL playoff schedule, projected bracket: Here's what to know in both conferences
The playoffs begin on Jan. 10 with three full rounds before Super Bowl LX on Feb. 8.

TODAY'S NFL DEBATES
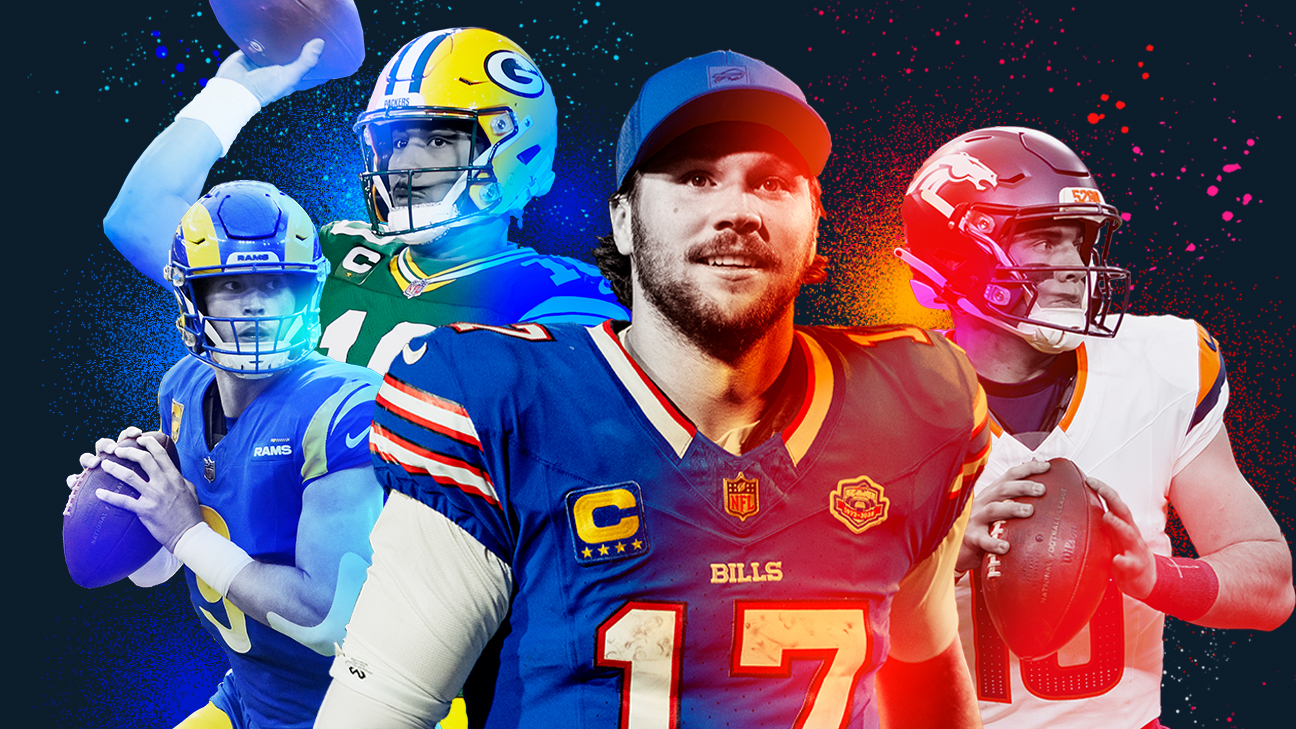
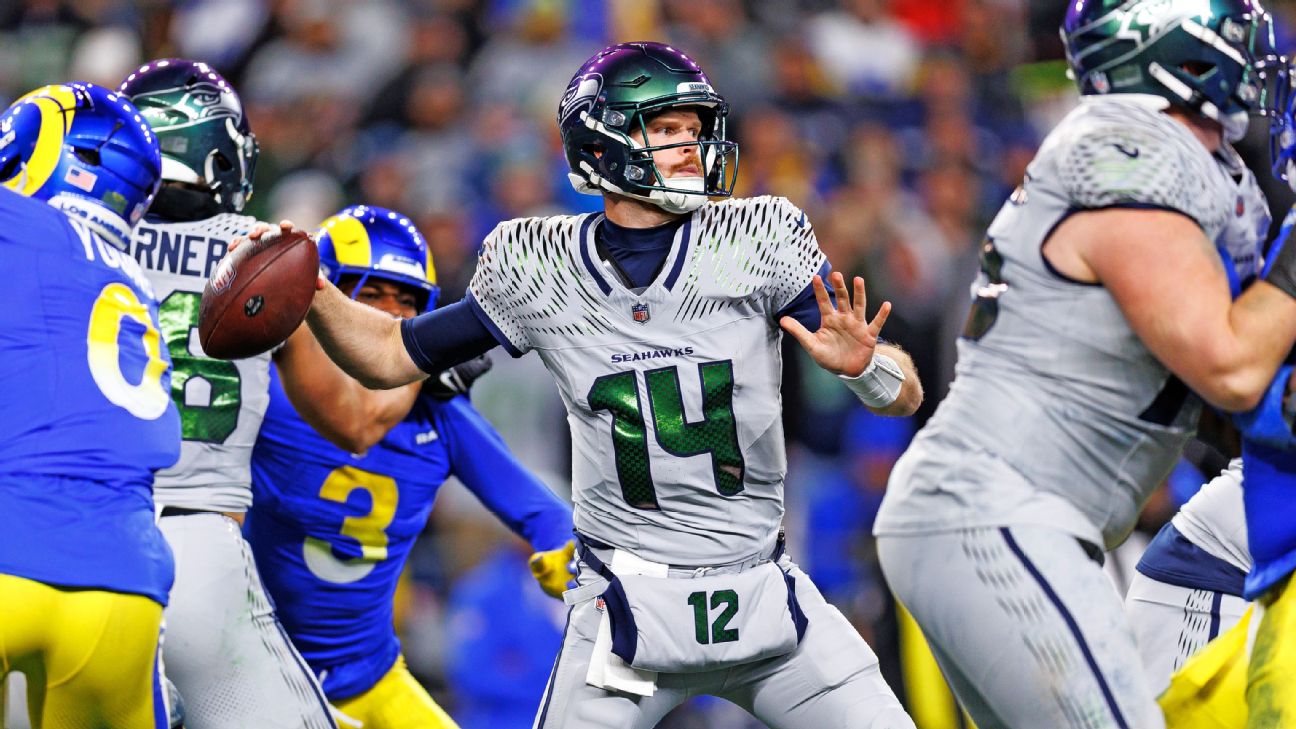
Mad Dog gets heated at Schrager, Swagu when defending Aaron Rodgers

Schrager, Mad Dog have different picks for NFC's top teams

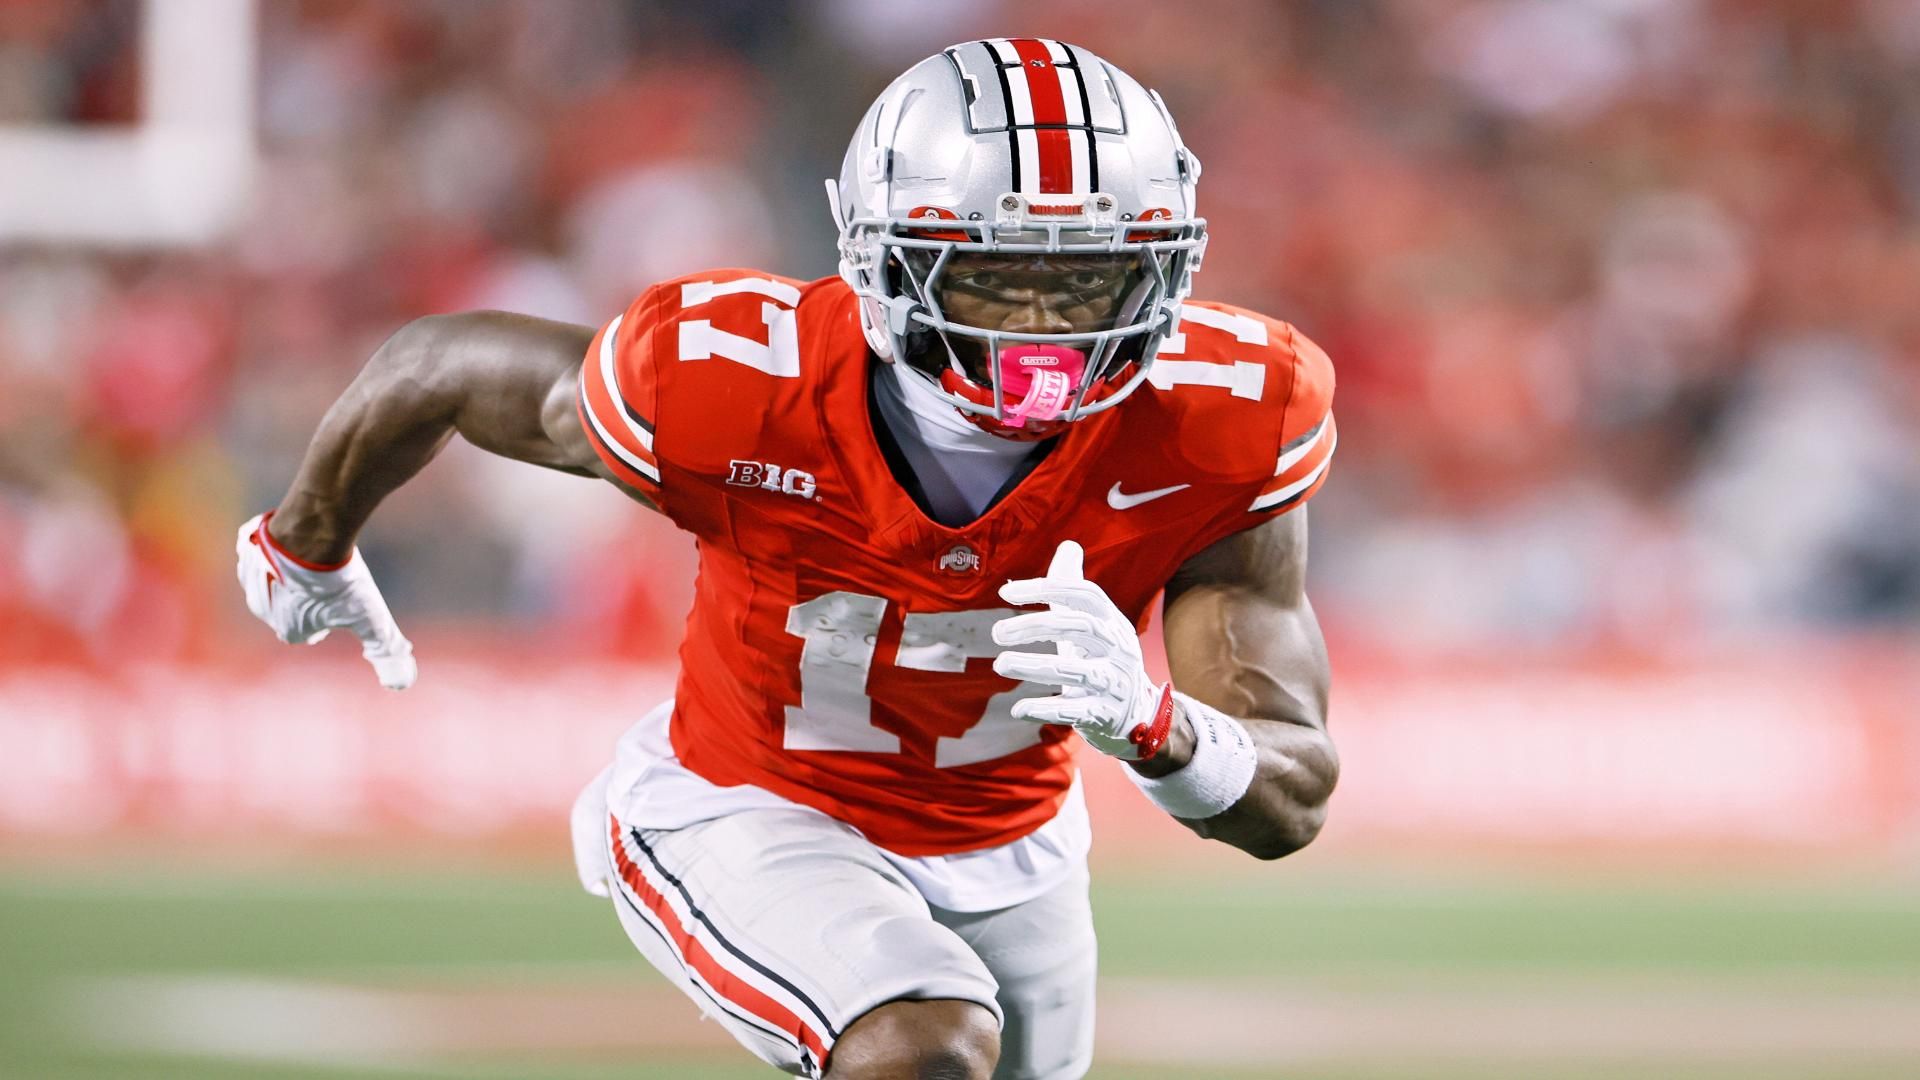
'He's just grown into this freaking Megatron': How OSU's Carnell Tate took over this season
Tate's emergence began on a 7-on-7 team filled with future Ohio State teammates and other college standouts.

How speedster Zachariah Branch made a fast impression at Georgia


COLLEGE FOOTBALL PLAYOFF
WEDNESDAY AND THURSDAY ON ESPN
Key matchups, players to watch and projections for CFP quarterfinals
We break down Ohio State-Miami, Texas Tech-Oregon, Indiana-Alabama and Georgia-Ole Miss. Watch every game via the ESPN MegaCast.

NCAA MEN'S BASKETBALL
Why did Baylor sign an NBA draft pick at midseason? Because the NCAA made it so
The fault falls to college sports' leaders who spent decades defending amateurism with dated legal arguments.

WRAPPING UP 2025
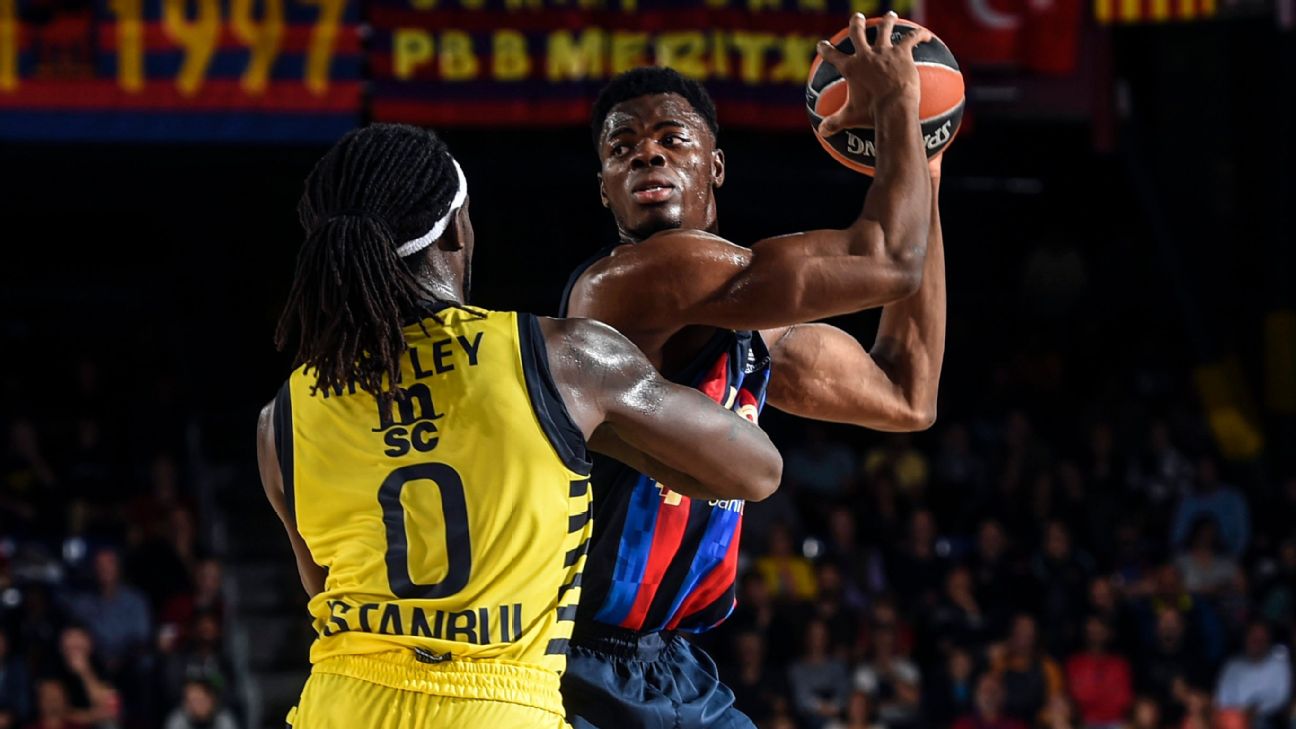
NBA Power Rankings: Where all 30 teams stack up
Our NBA insiders lay out where all 30 teams stack up in the last power rankings of 2025.

Which NBA star had the best year? The 2025 Golden Basketball goes to ...
Kevin Pelton breaks down which NBA stars had the best year and crowns a winner.

Top Headlines
- Ducks' Lanning echoes call to wrap CFP by Jan. 1
- Panthers' Marchand won't face hearing for elbow
- Redick, Doncic say refs allowed Pistons fouling
- Seals, in first start for TCU, leads OT win vs. USC
- Cowboys release two-time Pro Bowl CB Diggs
- NCAA clarifies eligibility stance amid criticism
- Pats' Diggs faces strangulation, assault charges
- Duke lands prized PG Rippey; '26 class now No. 1
- 🏈 Latest buzz on the NFL coaching carousel
Customize ESPN
ICYMI
TCU wins the Alamo Bowl in dramatic fashion in OT
Jeremy Payne breaks multiple tackles on third-and-20 and somehow reaches the end zone for the winning touchdown for TCU.
NFL Playoff Machine
Mark J. Rebilas/USA TODAY Sports Simulate playoff matchups
Predict playoff pairings by selecting the winners of the remaining regular-season games to generate potential scenarios.
Sounding Off
Why Rex Ryan says Ravens shouldn't care if Lamar misses Week 18 vs. Steelers
Adam Schefter and Rex Ryan discuss Lamar Jackson's potential absence against the Steelers, and Ryan lays out the Ravens' path to victory.
Trending Now
Illustration by Masa 2025 NFL playoff picture: Updated odds, seeds, draft order
We are following the 2025 NFL season's playoff picture. Here's how things look right now for wild-card spots, division races and even the draft order.
Cody Glenn/Icon Sportswire Grading 2025 college football head coaching hires
As the coaching carousel continues to spin, we grade every major hire.
ESPN Illustration Why former NFL star Laveranues Coles decided to become an officer
At age 47, Coles is making an impact in the same community in Jacksonville that he grew up in.
Gary Dineen/Getty Images NBA buzz: Latest updates, trades, intel ahead of Feb. 5 deadline
Catch up on the latest buzz, trade alerts and league intel from our ESPN NBA insiders.
Michael Owens/Getty Images 2026 MLB predictions: One stat to make or break every NL team
Here are the numbers that could define your favorite National League squad in the new year.
Get a custom ESPN experience
Enjoy the benefits of a personalized account
Select your favorite leagues, teams and players and get the latest scores, news and updates that matter most to you.


